Smart Thermostat Setup Guide
Being a tech lover and regular user of smart home appliances, I have always been eager to maximize my house for efficiency and convenience. Setting up my smart thermostat was one of the memorable events. You're in the proper place if you're thinking about this clever upgrade. From recognizing the advantages to ending the installation and customizing of your smart thermostat, this article will help you through the whole procedure.
Advantages of a Smart Thermostat Installation
Installation of a smart thermostat will change the comfort level of your residence. Apart from significant energy savings, it provides ease by learning and fitting for your calendar. A smart thermostat allows you to reduce energy waste and finally results in lower utility costs by ensuring that your heating or cooling system runs just when needed. One of the best benefits was the peace of mind knowing my house would always be at a proper temperature upon my return, therefore sparing me from squandering electricity in absentia.
Selecting Correct Smart Thermostat for Your HVAC System
Selecting the right smart thermostat is rather important.
There are plenty of versions available, each with special qualities
and suitable
fit. Extensive research guided my choice to ensure the device fit my HVAC system and
received favorable ratings. Select a thermostat suitable for your heat and
cool
system—traditional, heat pump, or multi-stage system.
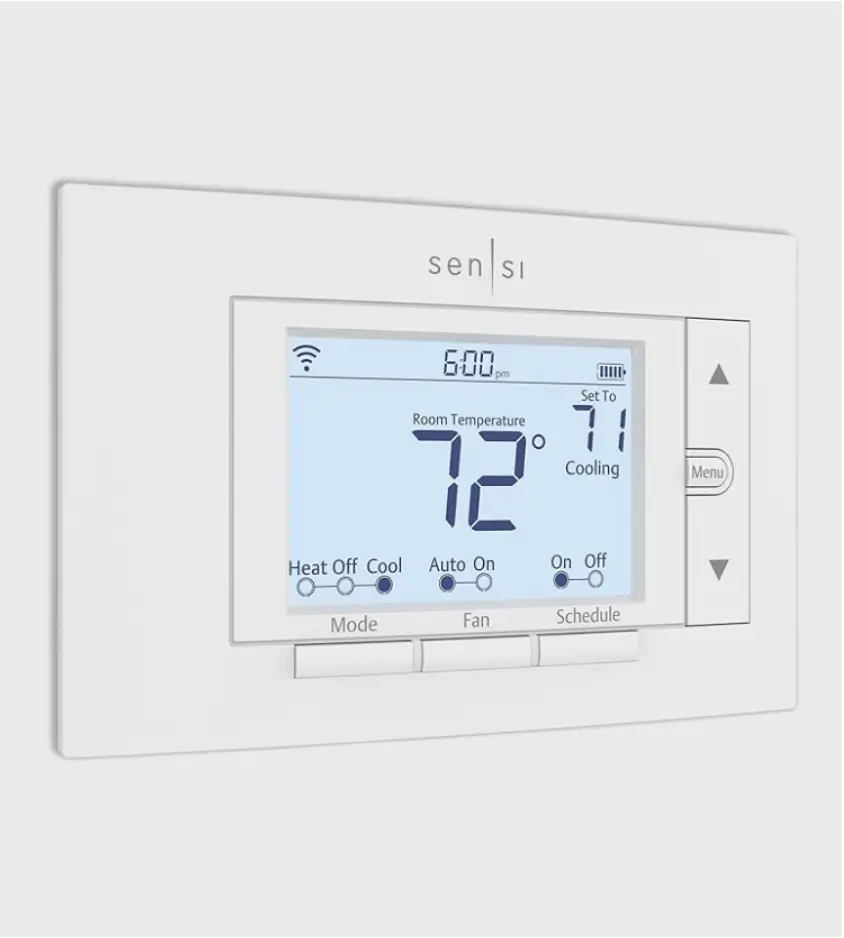
My Smart Thermostat:
Tools and Preparation
Before diving into the installation, gather all the
necessary tools:
- Screwdrivers (Phillips and flat-head)
- Drill and bits (if needed)
- Wire labels
- Level
- Smartphone or tablet for setup
One must be quite ready. To prevent any electrical catastrophes to your HVAC system, cut off the power. Remove the lid from your old thermostat and snap a picture of the wire arrangement. When you connect the new thermostat, this will be your reference.
Guide for Step-by-Step Installation
1. Turn Off the Power
Find and turn off your HVAC system's circuit breaker. This is absolutely important to stop any electrical mishaps during the installation.
2. Remove the Old Thermostat
1. Carefully remove the cover of the old thermostat. Most
covers snap off, but some may have screws.
2. Take a picture of the existing wiring for reference. This will help ensure you
reconnect the wires correctly to the new thermostat.
3. Label each wire using wire labels or masking tape with the corresponding terminal
letter from the old thermostat.
3. Installing the New Thermostat
Attach the New Mounting Plate:
- Position the new mounting plate on the wall. Use the level to ensure it is
straight.
- With a pencil, note where the screw holes on the wall fall.
- Drill holes at the marked positions if necessary and insert wall anchors if
provided.
- Screw the mounting plate into place.
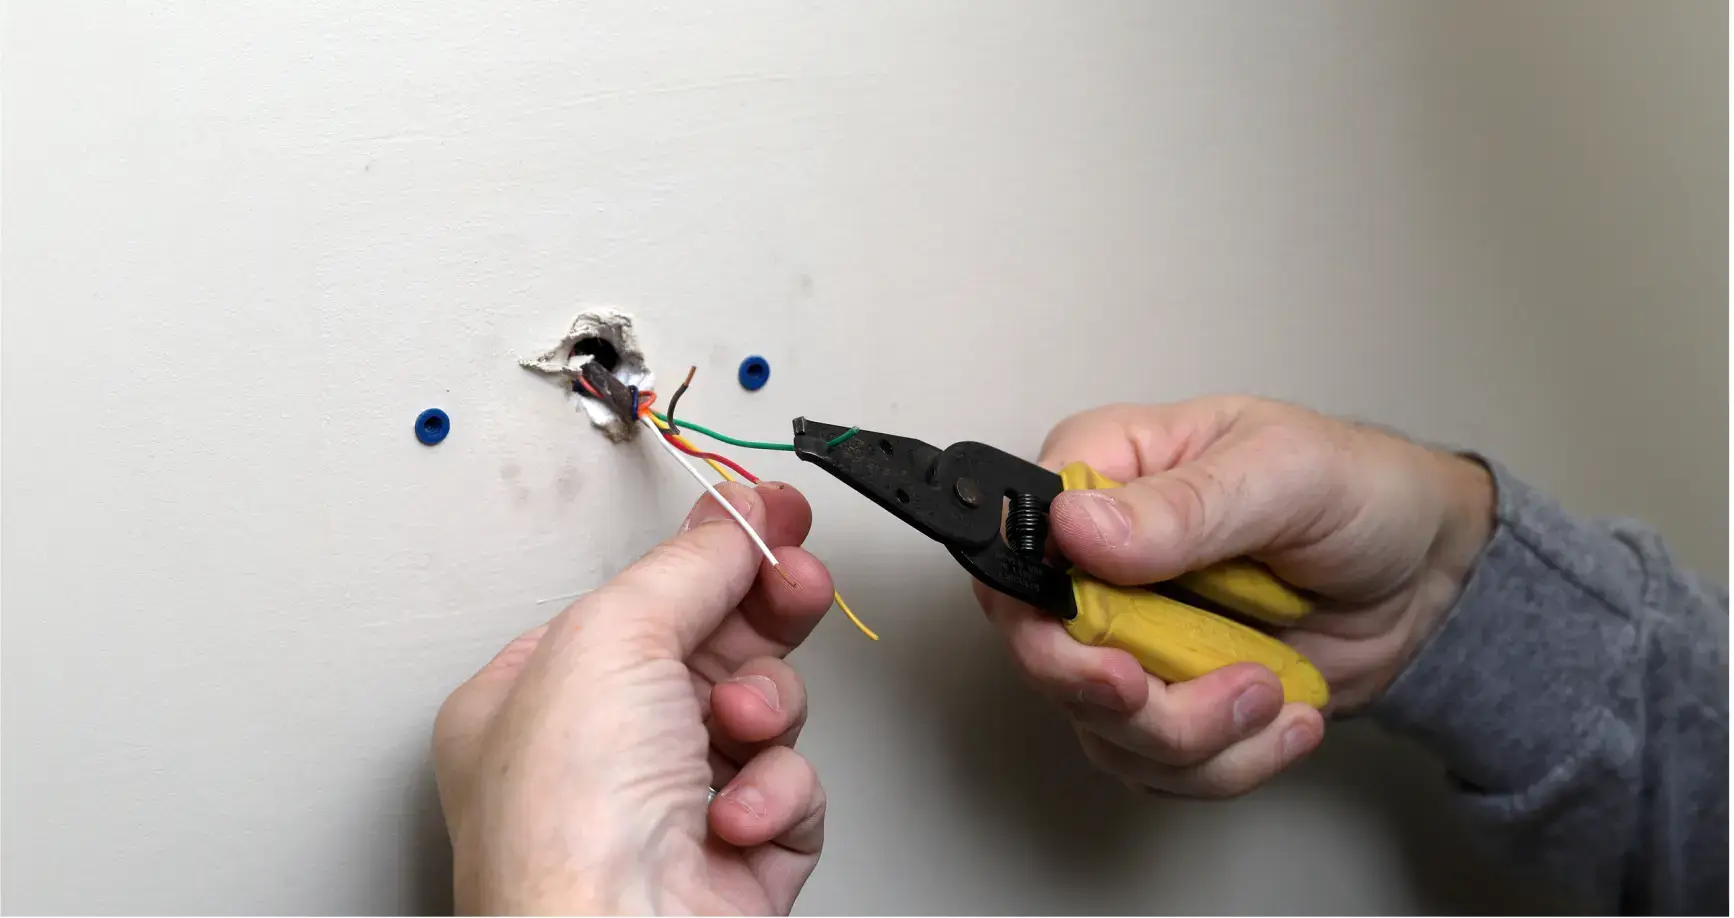
Connect the Wires to the New Thermostat:
Refer to the photo you took of the old thermostat’s wiring. Insert each wire into
the corresponding terminal on the new thermostat base.
- R or Rh (Power)
- W (Heat)
- Y (Cooling)
- G (Fan)
- C (Common)
Ensure each wire is securely attached by tightening the terminal
screws.
Attach the Thermostat Unit:
- Once all the wires are connected, carefully push any excess wire back into the
wall
cavity.
- Snap the new thermostat unit onto the mounted base plate.
Configuring Your Smart Thermostat
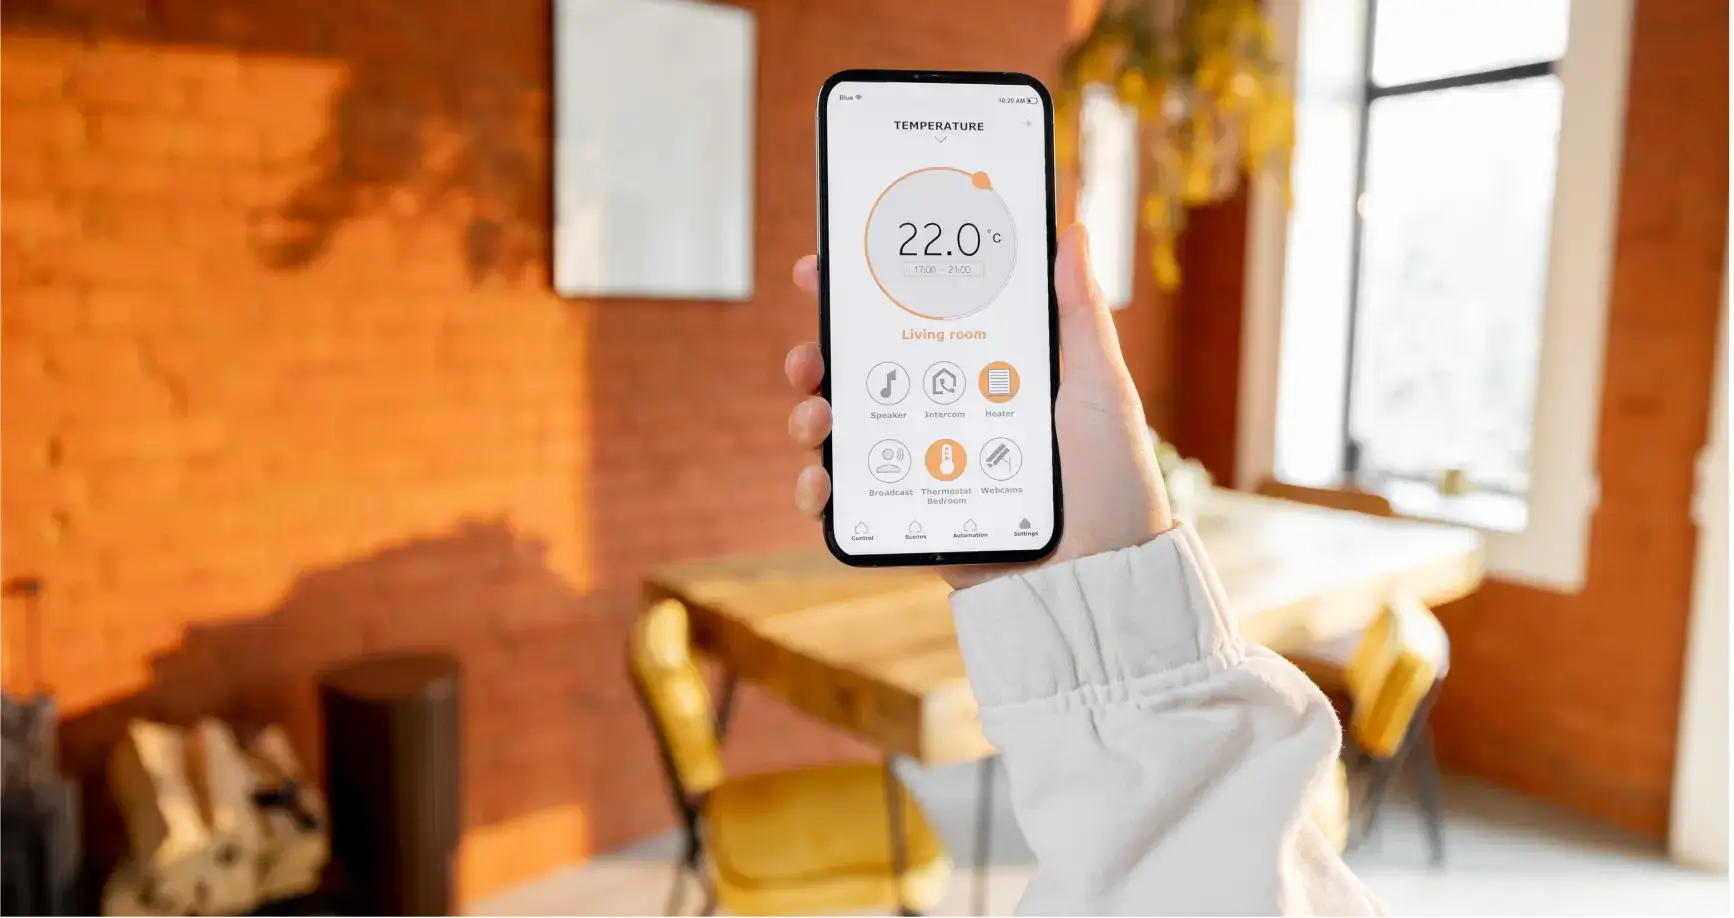
First power on the HVAC system at the circuit breaker to
set your smart thermostat. Then, whether Nest, Ecobee, or Honeywell
Home, download
the manufacturer's app on your tablet or smartphone. If necessary,
set up your
account then follow the in-app setup directions to link your
thermostat to your
Wi-Fi network.
The app will walk you through first setup and let you create preferred
routines and
temperatures. Over the first few days, manually change your thermostat
to help it
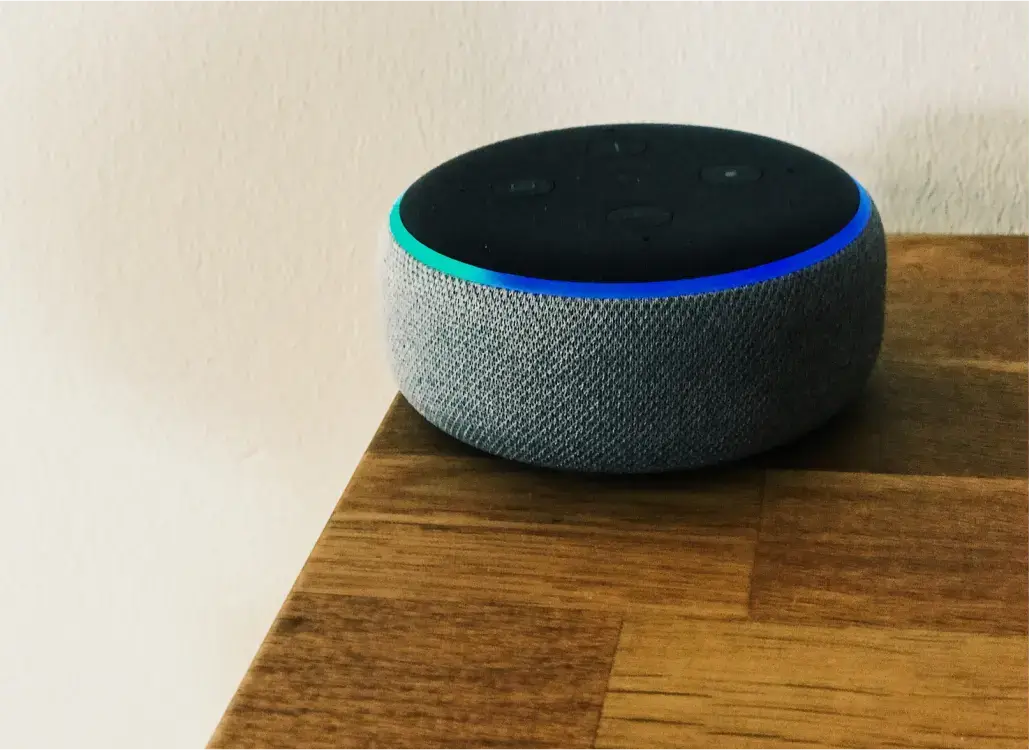
learn your routines. Automate temperature changes with clever tools
including
geofencing and voice assistant integration.
Correcting Typical Problems
If you run across problems, ensure correct thermostat placement and wiring to
troubleshoot typical issues such Wi-Fi connectivity or erroneous temperature
readings. Choose a compatible model for your HVAC
system closely read installation
guidelines, and, if necessary, think about seeing a professional for a good setup.
Your thermostat learns and adjusts to maximize comfort and energy
economy over time,
hence patience is absolutely important. This all-encompassing strategy guarantees
you to maximize your smart thermostat.
Last Thought: Good Thermostat Success
Starting with turning on your HVAC system and downloading the manufacturer's app, customizing your smart thermostat is an easy process. Following the app's directions will let you configure preferences, link your thermostat to Wi-Fi, and investigate additional capabilities including geofencing and voice assistant integration. For best performance, troubleshoot typical problems, guarantee correct installation, and be patient during the learning process. These actions will not only improve comfort and convenience but also result in notable energy savings, therefore proving the advantages of adding smart technology into your house.
